Ever brought home a rescue dog only to realize they’re terrified of new scents—or worse, clueless about how to find their way around with their nose? Yep, we’ve been there too. It’s frustrating when your furry best friend just doesn’t “get” sniffing games that could save the day (literally). That’s where odor location drills come in—an underrated method to boost confidence and connection with your rescue pup.
In this post, we’ll uncover why odor location drills are a must-have tool in your rescue dog training kit. You’ll learn how these drills work, step-by-step strategies to implement them, and expert tips to ensure success. Ready to turn those floppy ears into super-sniffers?
Table of Contents
- Why Odor Location Drills Matter for Rescue Dogs
- How to Train Your Rescue Dog Using Odor Location Drills
- Top Tips for Mastering Odor Location Drills
- Real-Life Success Stories
- Frequently Asked Questions About Odor Location Drills
Key Takeaways
- Odor location drills build trust and cognitive skills in rescue dogs.
- Start simple by introducing one scent at a time.
- Pair drills with positive reinforcement for faster results.
- Avoid rushing—rescue dogs need patience during sensory activities.
- These drills also double as bonding exercises between you and your pup!
Why Are Odor Location Drills Essential for Rescue Dog Training?
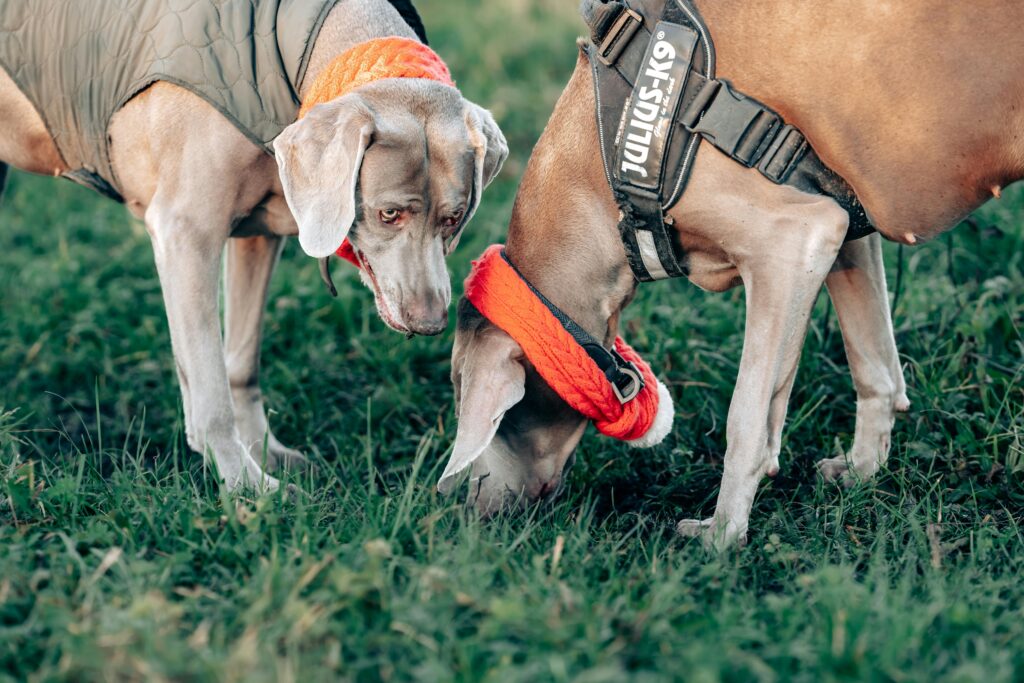
When it comes to rescue dogs, many struggle with adapting to new environments due to past trauma or neglect. Their sense of smell, however, remains one of their strongest natural abilities—but it often goes underutilized. Here’s why focusing on odor location drills can transform your pup:
“Confession time: I once spent hours teaching my rescue dog to fetch without realizing his real talent was finding hidden treats by scent. Talk about missing the forest for the trees.”
Optimist You: “Imagine your dog confidently locating lost items!”
Grumpy You: “Yeah, right—that’d be great if I didn’t have to spend half my life doing prep work.”

The truth is, odor location drills engage both the mind and body, helping nervous pups gain focus while building confidence. And no, it’s not some mystical art reserved for professional trainers; anyone can master it with practice.
Step-by-Step Guide to Teaching Odor Location Drills
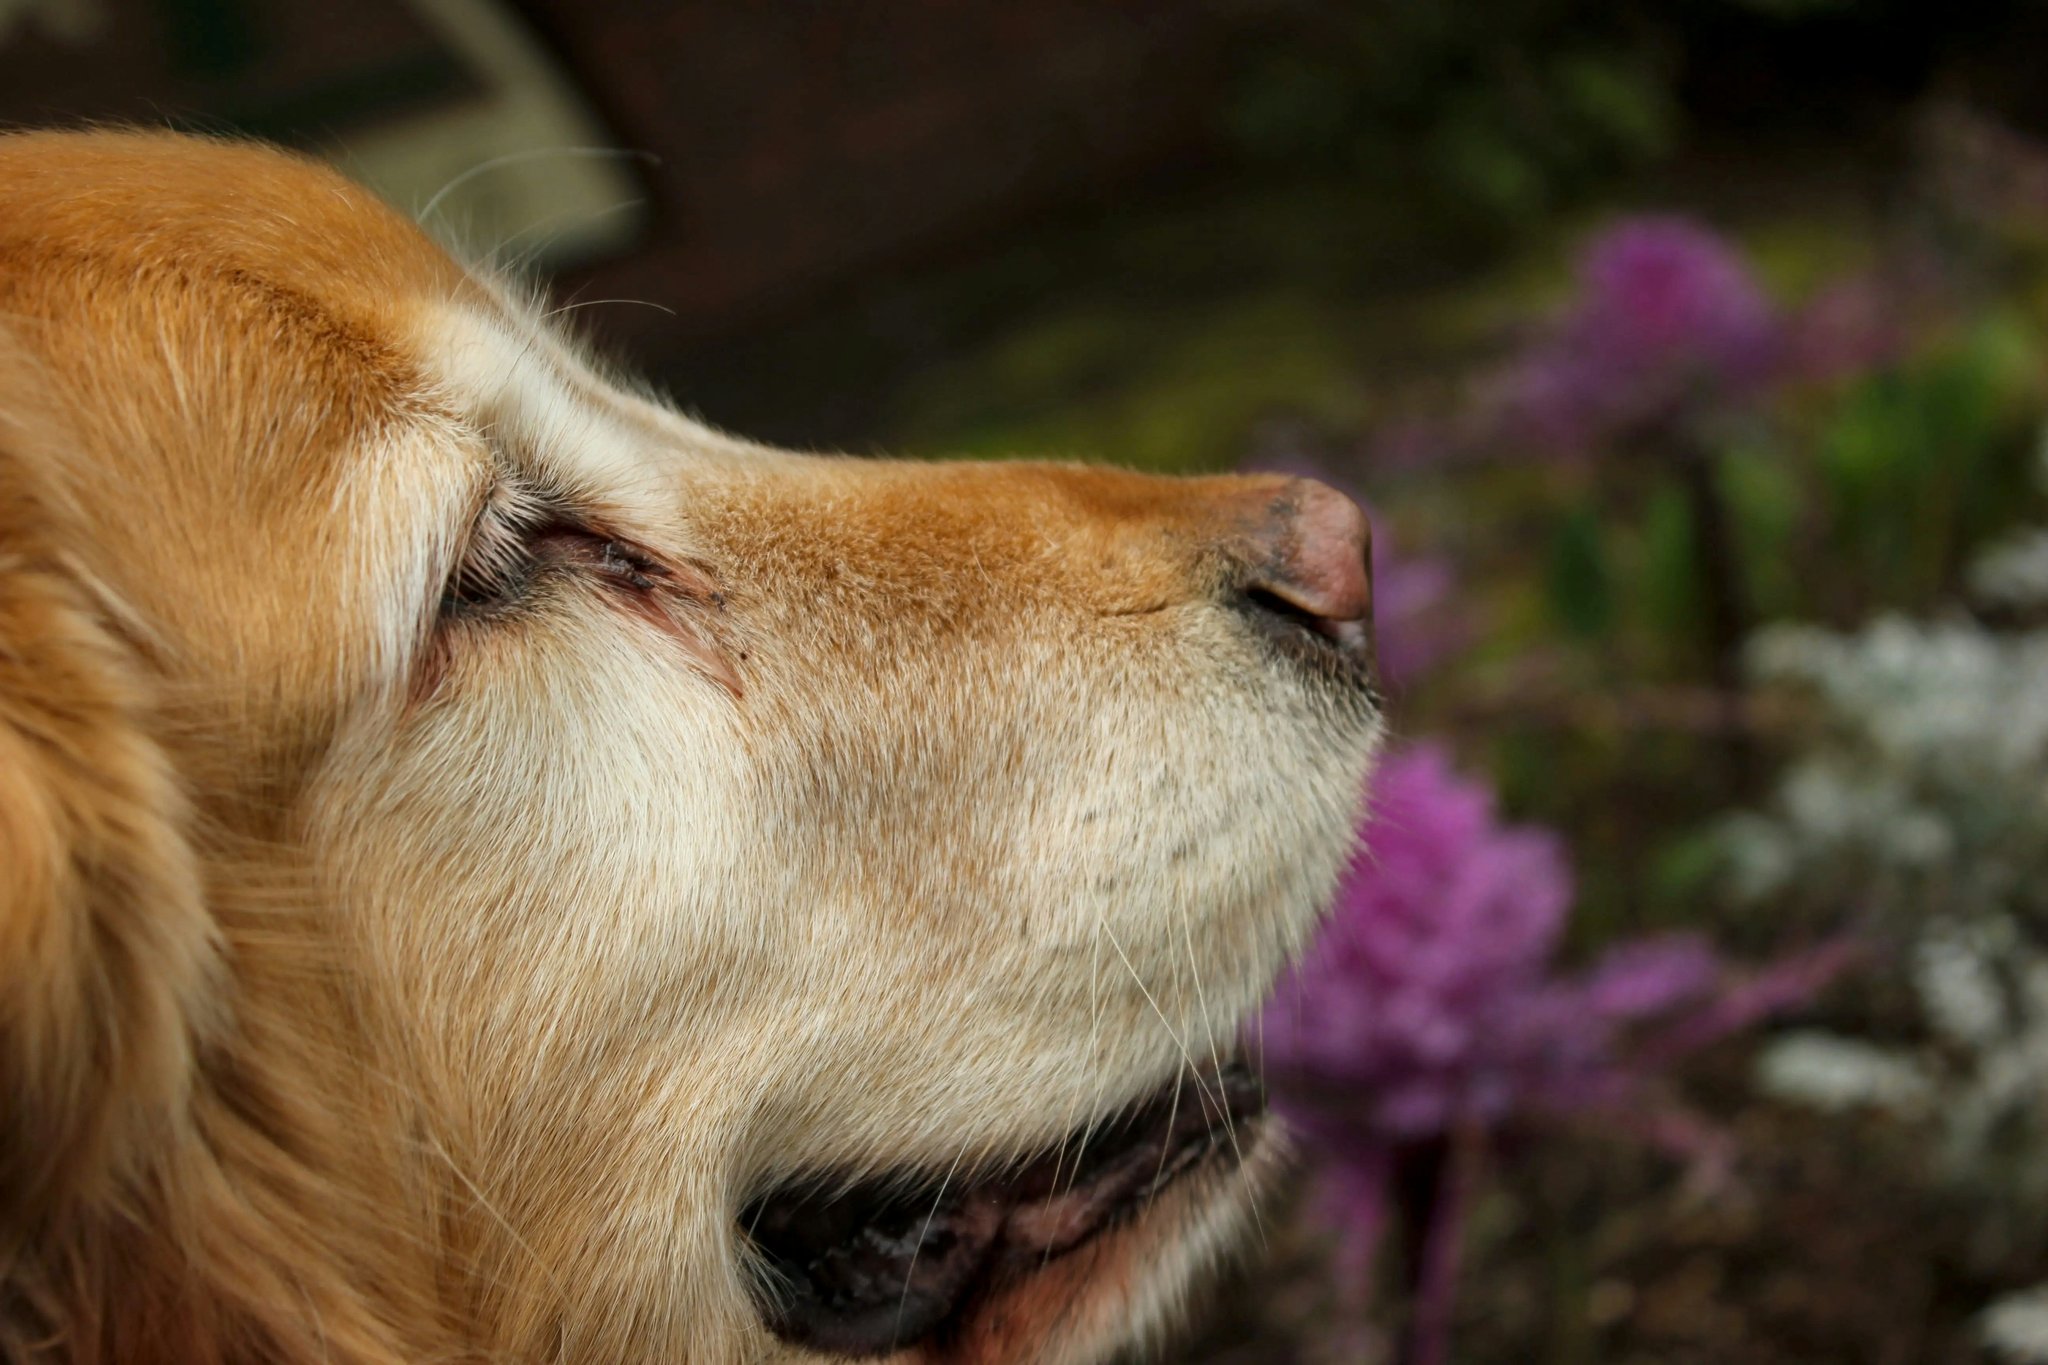
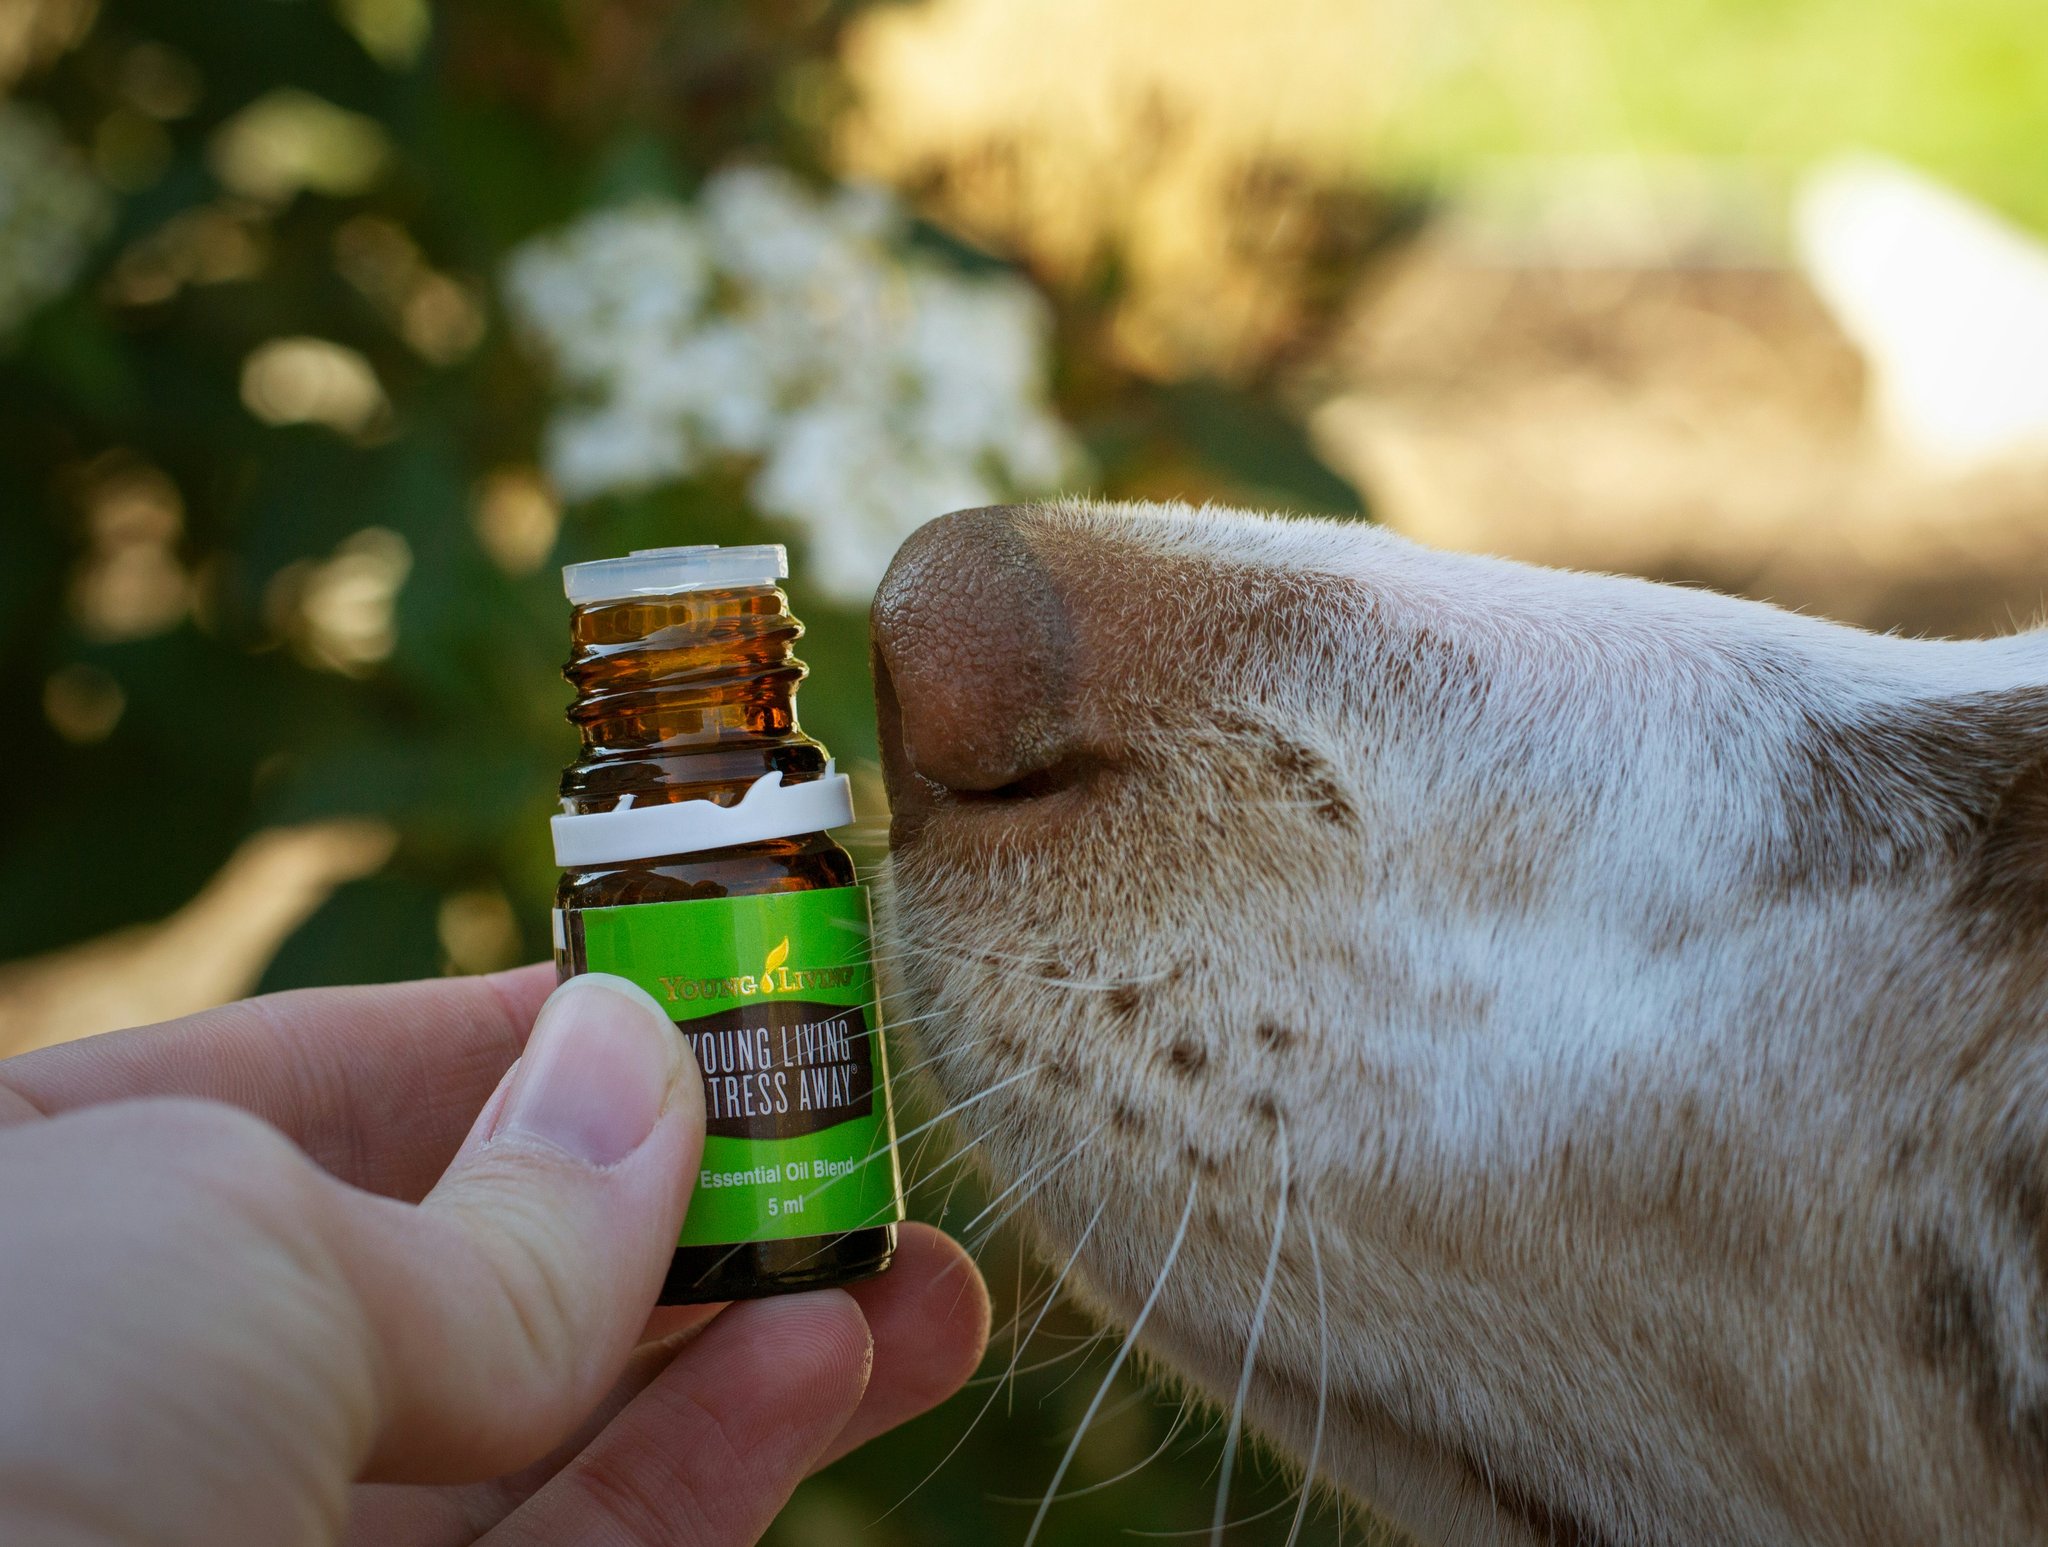
Step 1: Choose the Right Scent
Pick something enticing yet safe for your dog—a treat bag, favorite toy, or even vanilla extract dabbed on cotton balls works wonders. Avoid anything toxic like chocolate or perfumes.
Step 2: Introduce the Scent
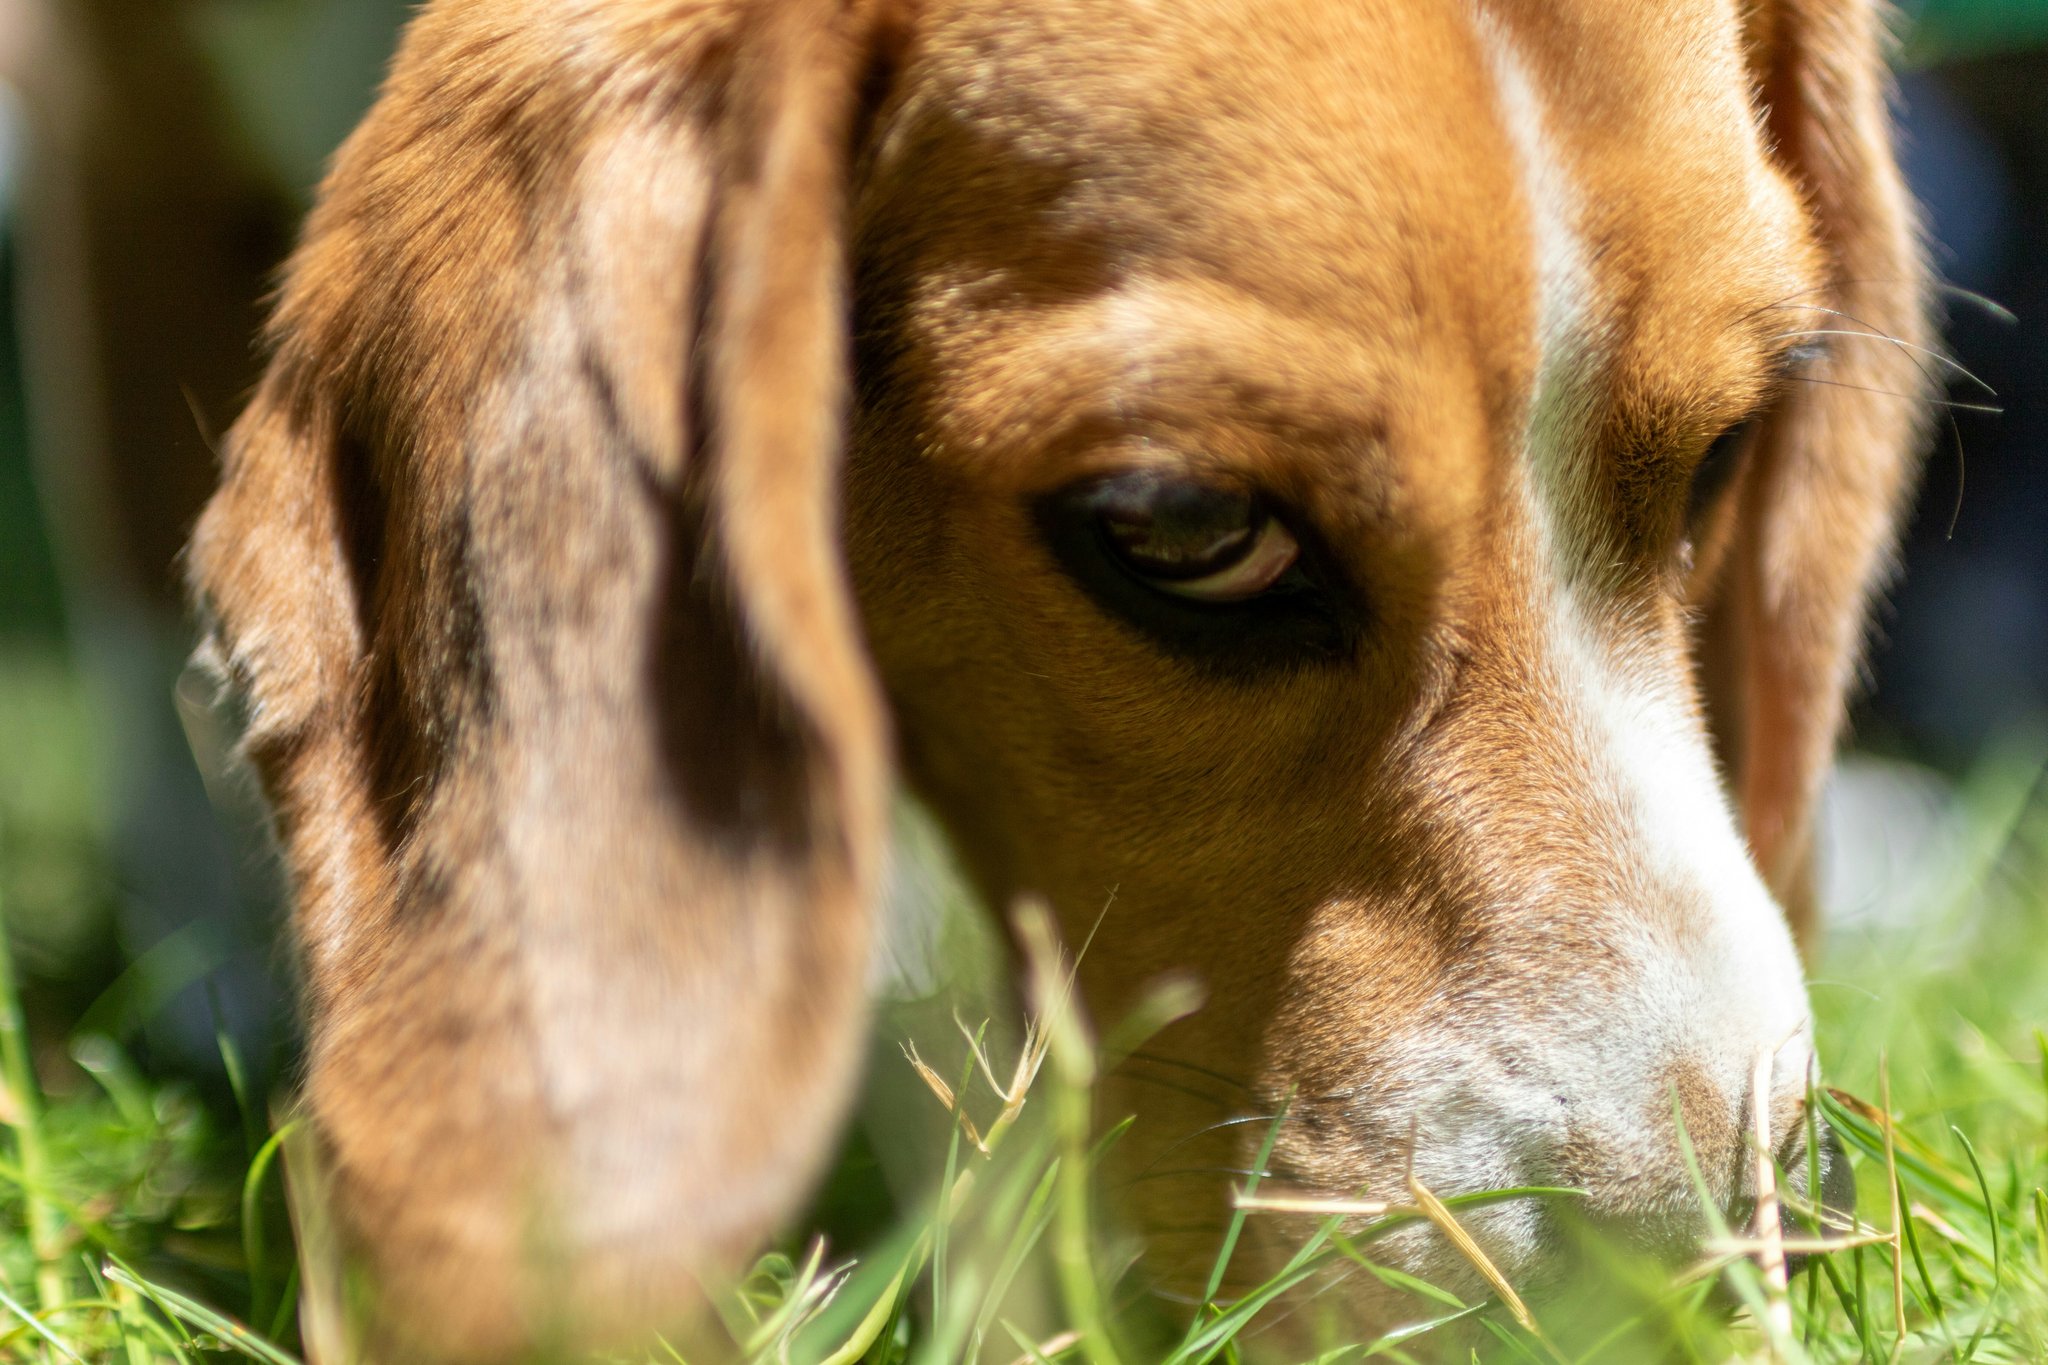
Start indoors with minimal distractions. Let your dog sniff the item freely before hiding it nearby. Use short distances initially (<1 meter) so they don’t feel overwhelmed.
Step 3: Encourage Sniffing Behavior
Say “find it!” cheerfully and let them explore. Reward immediately with verbal praise and a treat once they locate the object. Repeat daily until consistent.
Step 4: Gradually Increase Difficulty
As your dog gets better, move to more challenging spots—under furniture, behind doors, or outside in the yard. Always keep sessions fun and brief (5–10 minutes).
Step 5: Advance to Real-Life Scenarios
Once proficient, simulate real situations like finding dropped keys or locating missing shoes. Not only does this enhance practical skills but makes household chores easier!
Tips and Best Practices for Effective Odor Location Drills
- Be Consistent: Stick to the same commands and rewards system every session.
- Prioritize Patience: Rescue dogs may take longer to adjust, so celebrate small wins.
- Avoid Overtraining: Too much repetition leads to burnout. Keep it light and engaging.
- Reward Creatively: Mix up treats, toys, and verbal affirmations to keep things fresh.
Terrible Tip Disclaimer: Never punish your dog for failing to locate the scent. This kills motivation and damages trust. Instead, gently guide them back to the target.
Success Stories from Real-Life Rescues
Take Max, a timid pit bull mix who came from an abusive background. His adoptive family introduced him to odor location drills, starting with simple peanut butter jars. Within weeks, Max blossomed into a confident sniffer, excelling at agility competitions.
Another example is Luna, abandoned on a highway. She struggled with separation anxiety until her owners used odor location drills as part of her daily routine. Now, she thrives independently while happily hunting down socks left all over the house.
FAQs About Odor Location Drills
How long does it take to see progress?
Most dogs show improvement within 2–4 weeks, depending on consistency and individual learning pace.
What scents should I avoid?
Strong chemicals, spicy foods, or anything harmful if ingested. Stick to mild, food-based scents.
Can any breed benefit from this?
Absolutely! All breeds possess a keen sense of smell—it’s universal across dogs.
Do I need special tools?
Nope, household items suffice. However, dedicated scent kits are available online for advanced training.
Conclusion
Odor location drills aren’t just another trick—they’re a lifeline for rescue dogs navigating uncertain futures. By harnessing their innate sniffing power, you create opportunities for growth, trust, and joy. Whether you’re battling messy clutter or seeking deeper bonds, teaching your pup to locate odors offers endless benefits.
So go ahead, grab that jar of peanut butter, and start exploring the world through your dog’s wet little nose. Trust us—it’s chef’s kiss.
Haiku moment:
Sniffs lead, paws follow,
Hidden treasures found anew.
Together, we thrive.